Homemade Shot Ski:
Introduction:
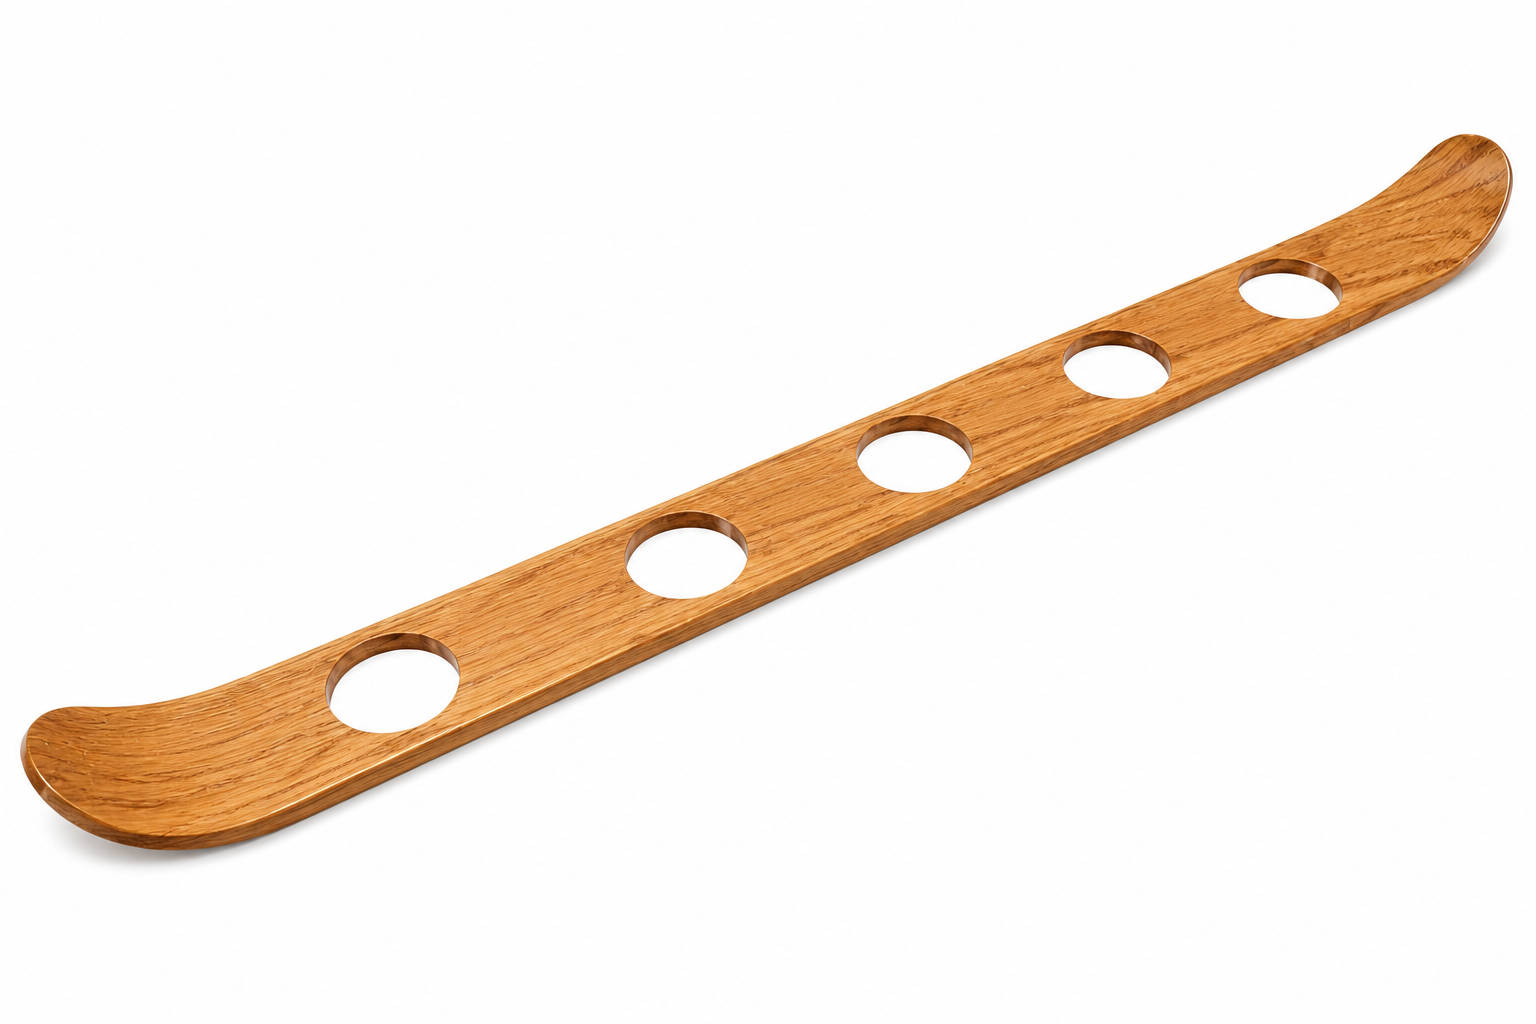
As a fun project, I decided to build my own shot ski. A typical shot ski is made by simply taking a long piece of wood and cutting out holes to fit the glasses into, or by attaching circular mounts to a ski and inserting the glasses into the mounts. I wanted to take my design one step further by creating a glass mount that can accommodate glasses of many shapes and diameters. I also wanted my mount to be easy to use and clean, and I wanted to mitigate the risks of glasses falling out and breaking.
Manufacturing:
Design Process:
To begin the prototyping and design process for the shot glass mounts, I considered the following three design requirements:
The mount shall accommodate all glasses up to a diameter of 2 inches.
The mount shall secure the glass so that it does not fall out if flipped upside down.
The mount shall require no disassembly to clean.
I then proceeded with prototyping. The primary challenges included figuring out how wide and how tall to make the mount to satisfy the design requirements, as well as figuring out how the glass would be secured within the mount. Choosing the exact dimensions for the mount required multiple design iterations and trials, as can be seen in the figure on the right.
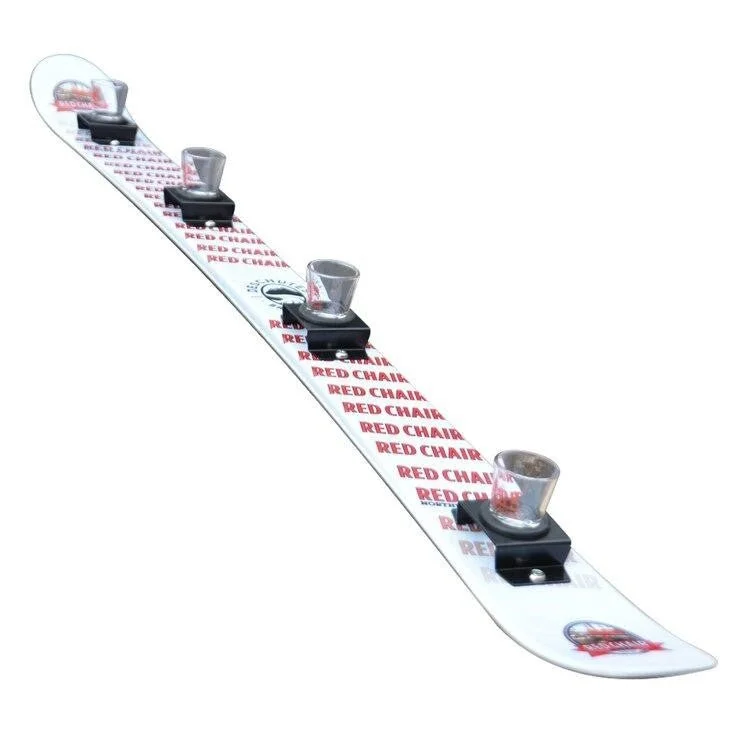
Examples of common shot ski designs
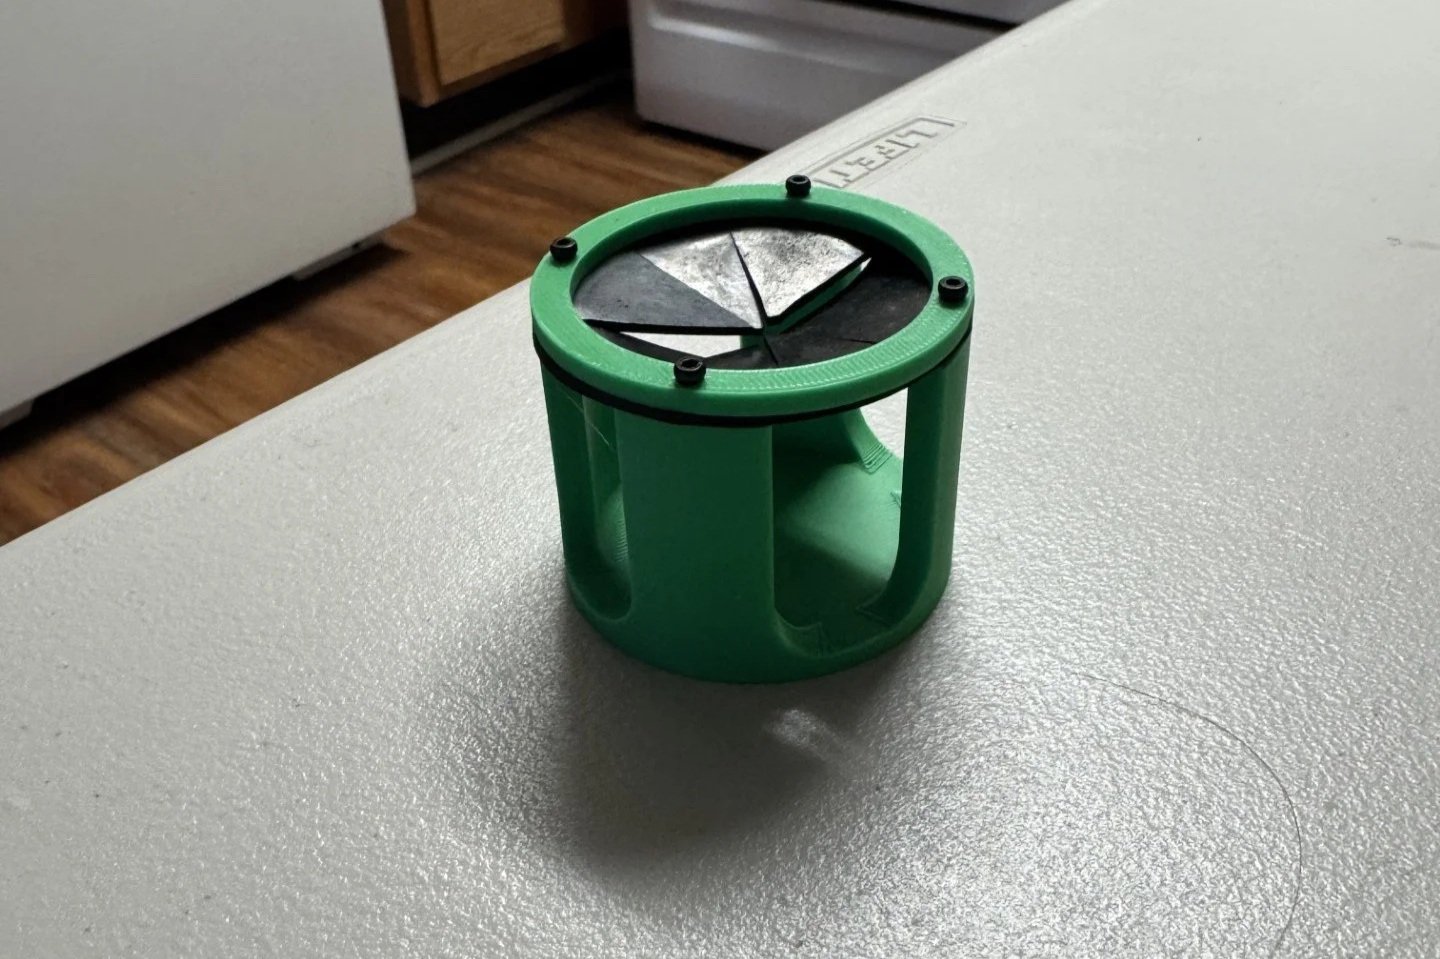
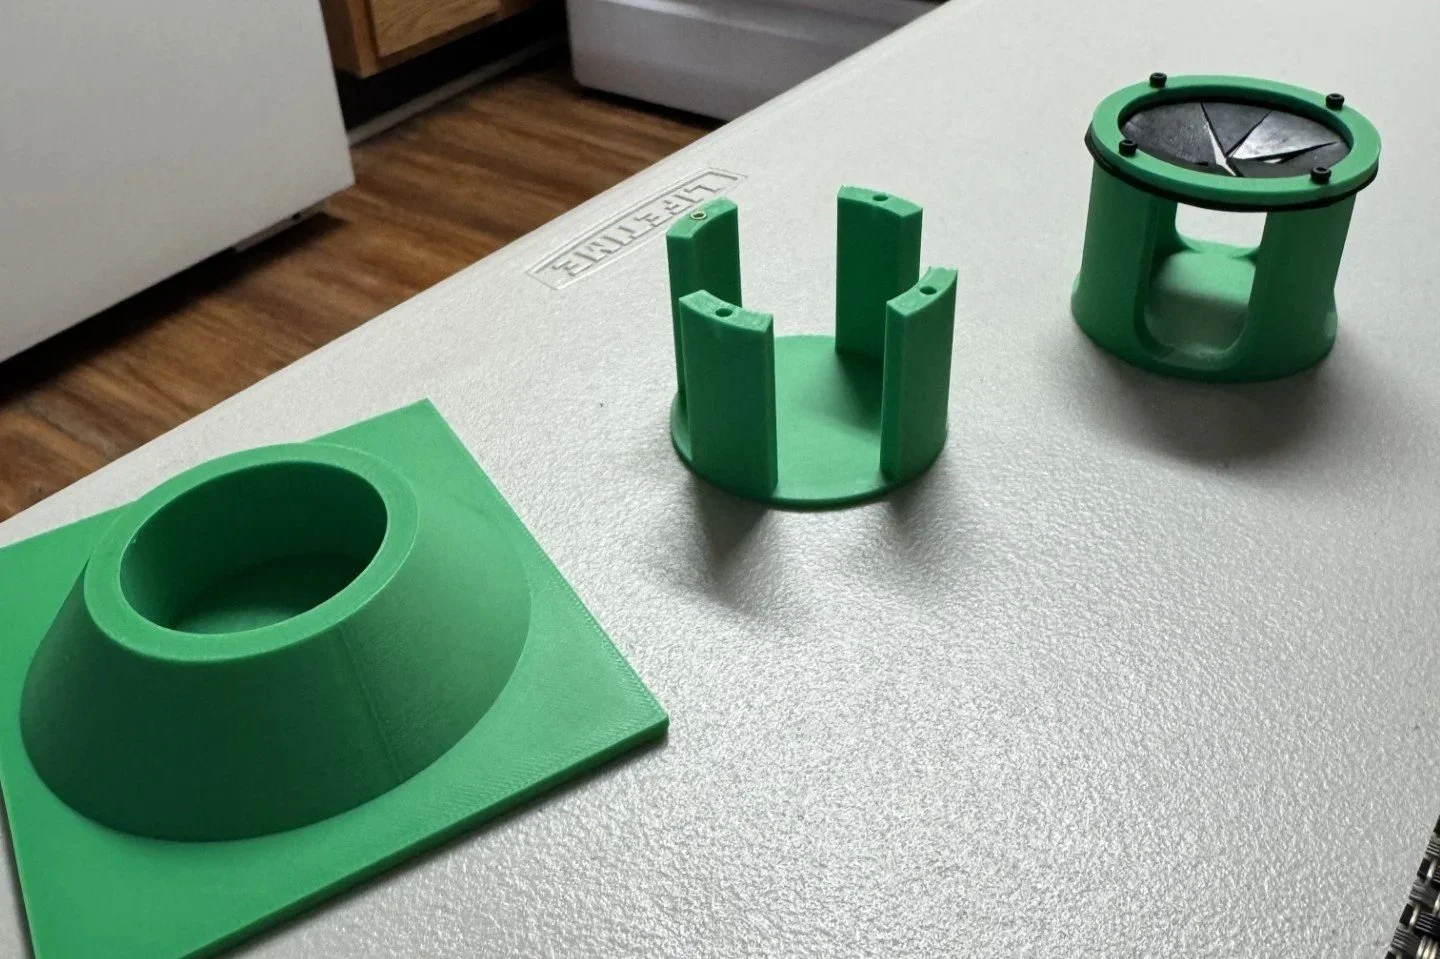
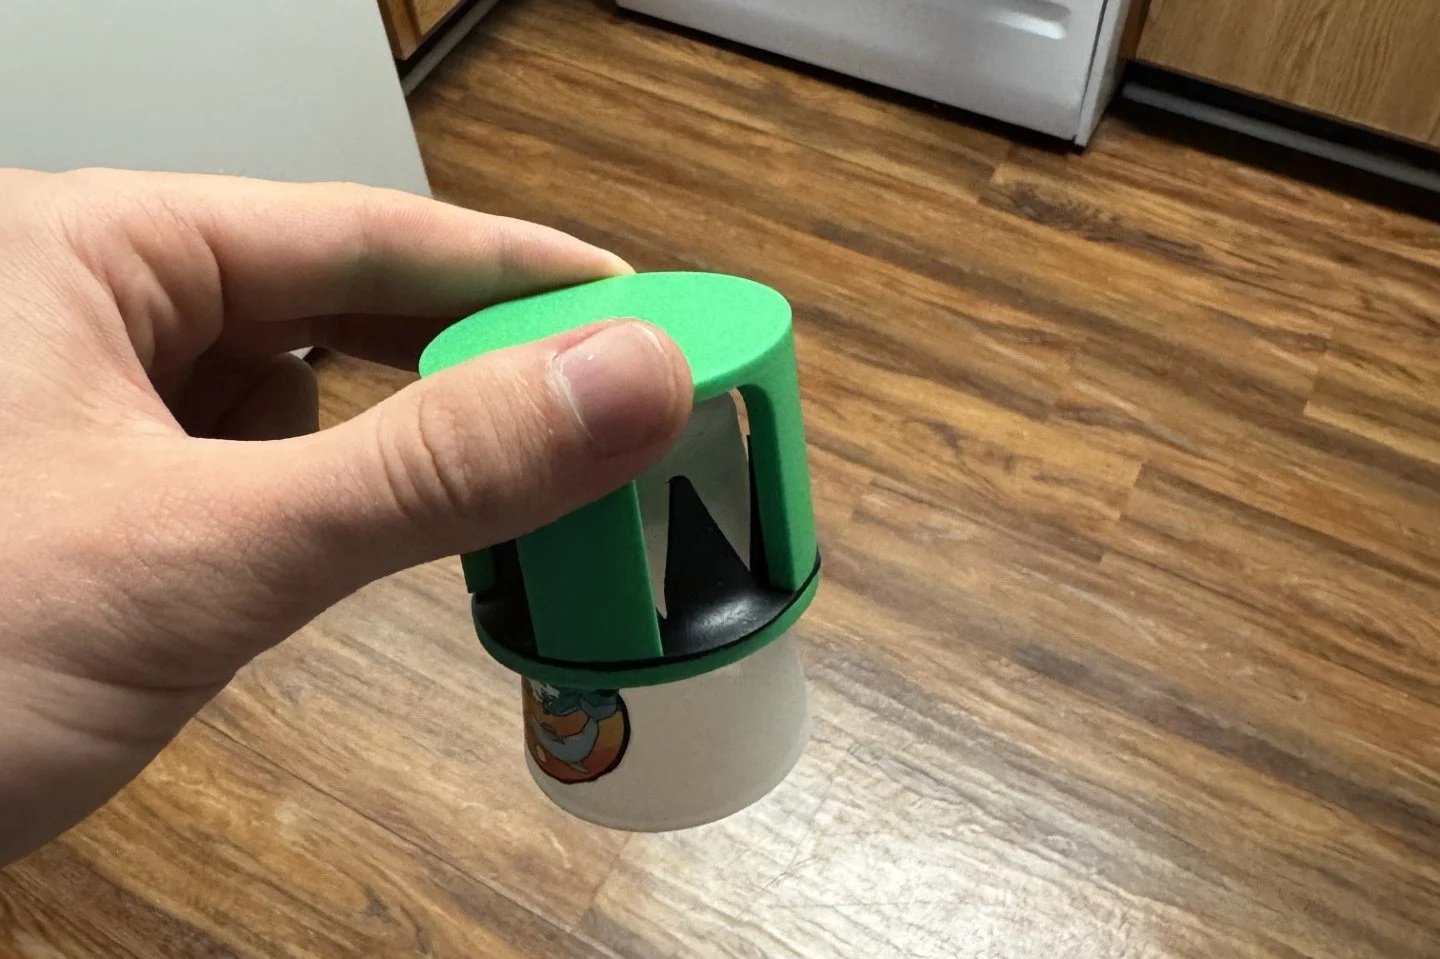
Eventually, I was able to find the exact dimensions that I wanted to use for the mount. I also decided to use friction to keep the glasses secured within the mount. I achieved this by inserting a thin rubber disc into the mount and having the glass be mounted through the rubber disc. Specifically, this was done by making intersecting cuts through the center of the rubber disc, and then securing the disc between the base of the mount and the top. Additionally, to address the requirement of making the mount easy to clean, I added gaps between walls, therefore allowing easy access to the base of the mount without any disassembly. Now that I had settled on a design, I was ready to begin manufacturing.
First, I 3D printed the base and lid pieces of the mount using PLA filament.
Next, I inserted four threaded heat-set inserts into the base of the mount using a soldering iron with a modified tip.
I then used a sharp knife to make four intersecting cuts in the rubber disc. I also used the knife to create small holes at the four corners of the rubber disc, allowing bolts to pass through.
Lastly, I stacked and aligned the rubber disc with the holes in the base, and I aligned the lid of the mount with the holes in the rubber disc. I then screwed in four M2 bolts passing through the lid, the rubber disc, and entering the threaded inserts in the base. This concluded the assembly of the mount.
To test that the final product worked as designed, I inserted a shot glass into the mount and flipped it upside down. The glass did not move. Therefore, the design satisfied all requirements.
After finalizing the design of the mounts, I began the manufacturing process for the shot ski. First, I needed to gather the necessary materials. Below is a list of materials I used, as well as the associated costs:
1 used ski - $0.00 (got it from a friend for free)
Black PLA filament (1 roll) - $20.00
Rubber discs (65 mm diameter, 1.5 mm thick, 20 pcs) - $10.69
M2 × 10mm bolts (came in a whole set of nets and bolts) - $16.57
M2 threaded inserts (came in a set with different sizes) - $15.98
Gold spray paint (1 can) - $6.47
White primer (1 can) - $6.69
Super glue (1 tube) - $8.79
The total cost of materials came out to be $85.19; however, it is worthy to note that not all of the materials that were purchased were used for the project. For example, only a fraction of the PLA filament, M2 bolts, and threaded inserts were actually used to assemble the shot ski. I decided to buy some of the materials in bulk or in sets because I wanted to use the same materials for future projects. Therefore, the true cost of the materials was a lot less than $85.19. Now I will go through the manufacturing and assembly procedure.
First, I 3D printed four sets of shot glass mount parts using the black PLA filament. I then assembled each of the four mounts using the procedure outlined in the previous section.
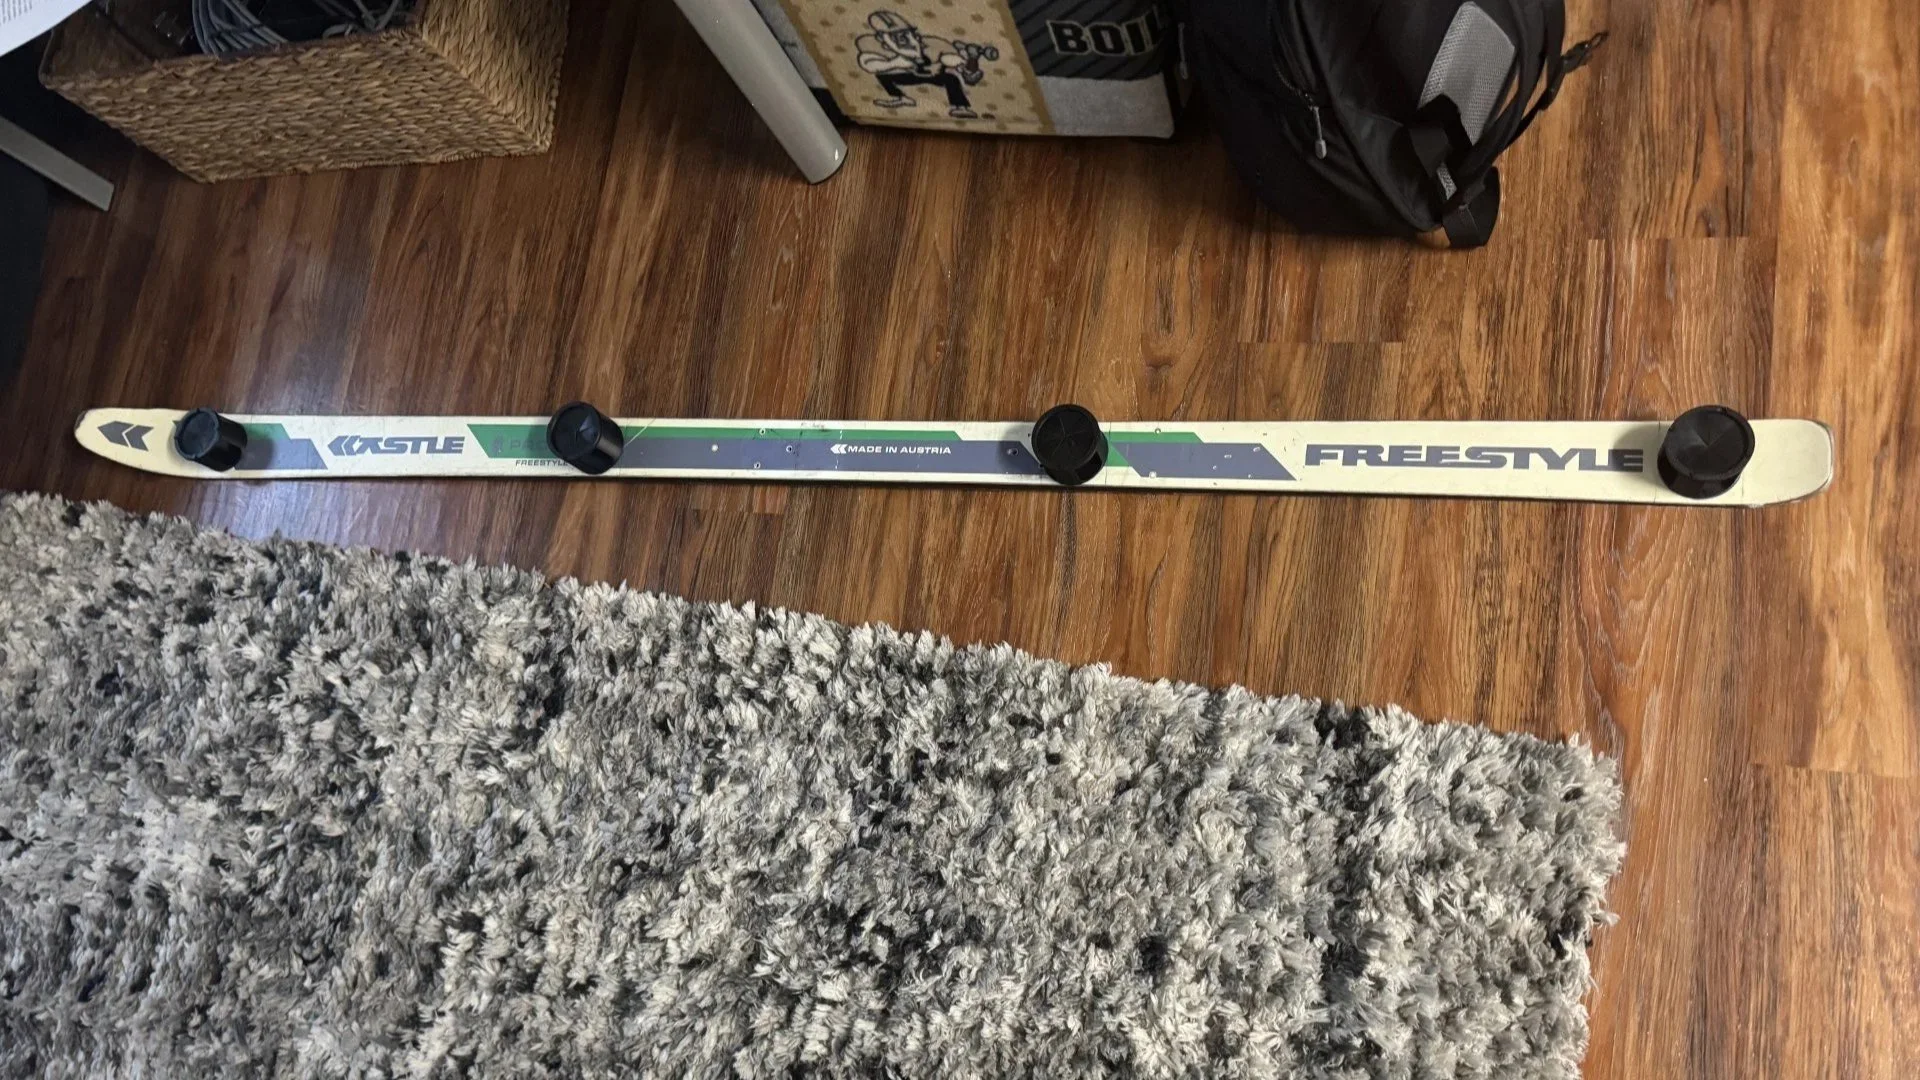
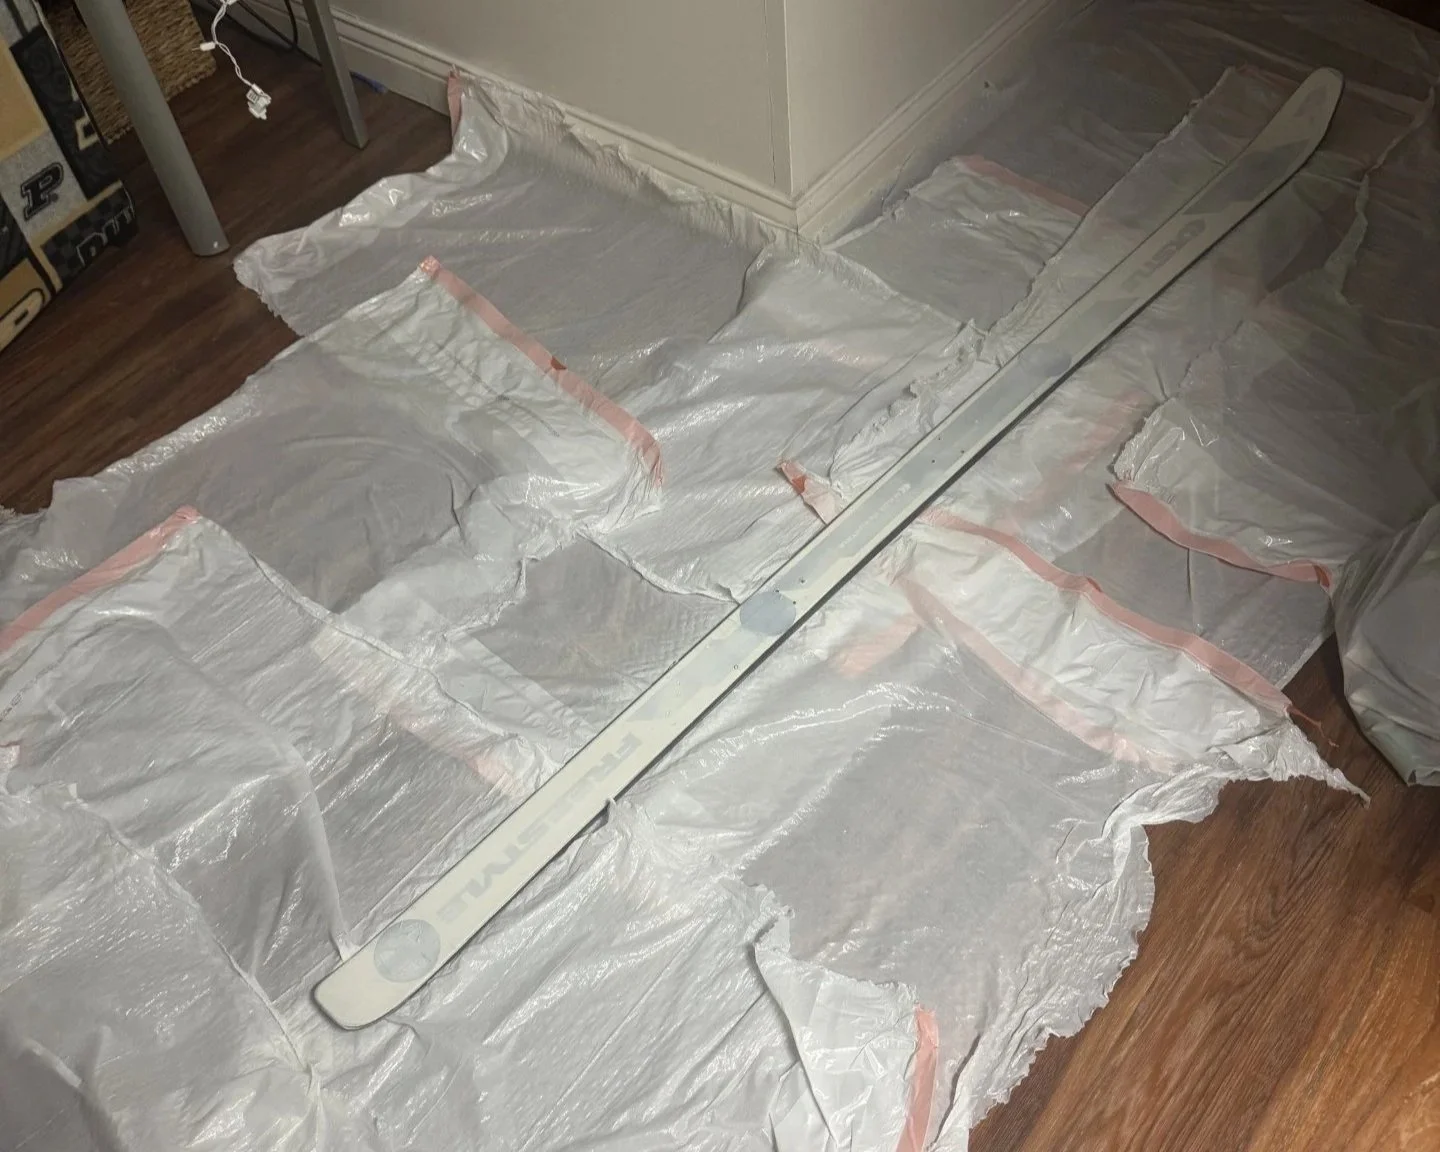
Next, I removed all existing bindings from the ski, and I cleaned off any dirt and stains.
Then, I placed the four shot glass mounts onto the surface of the ski, and I spaced them out equally. I marked the location of each mount on the ski, and then I taped off the location.
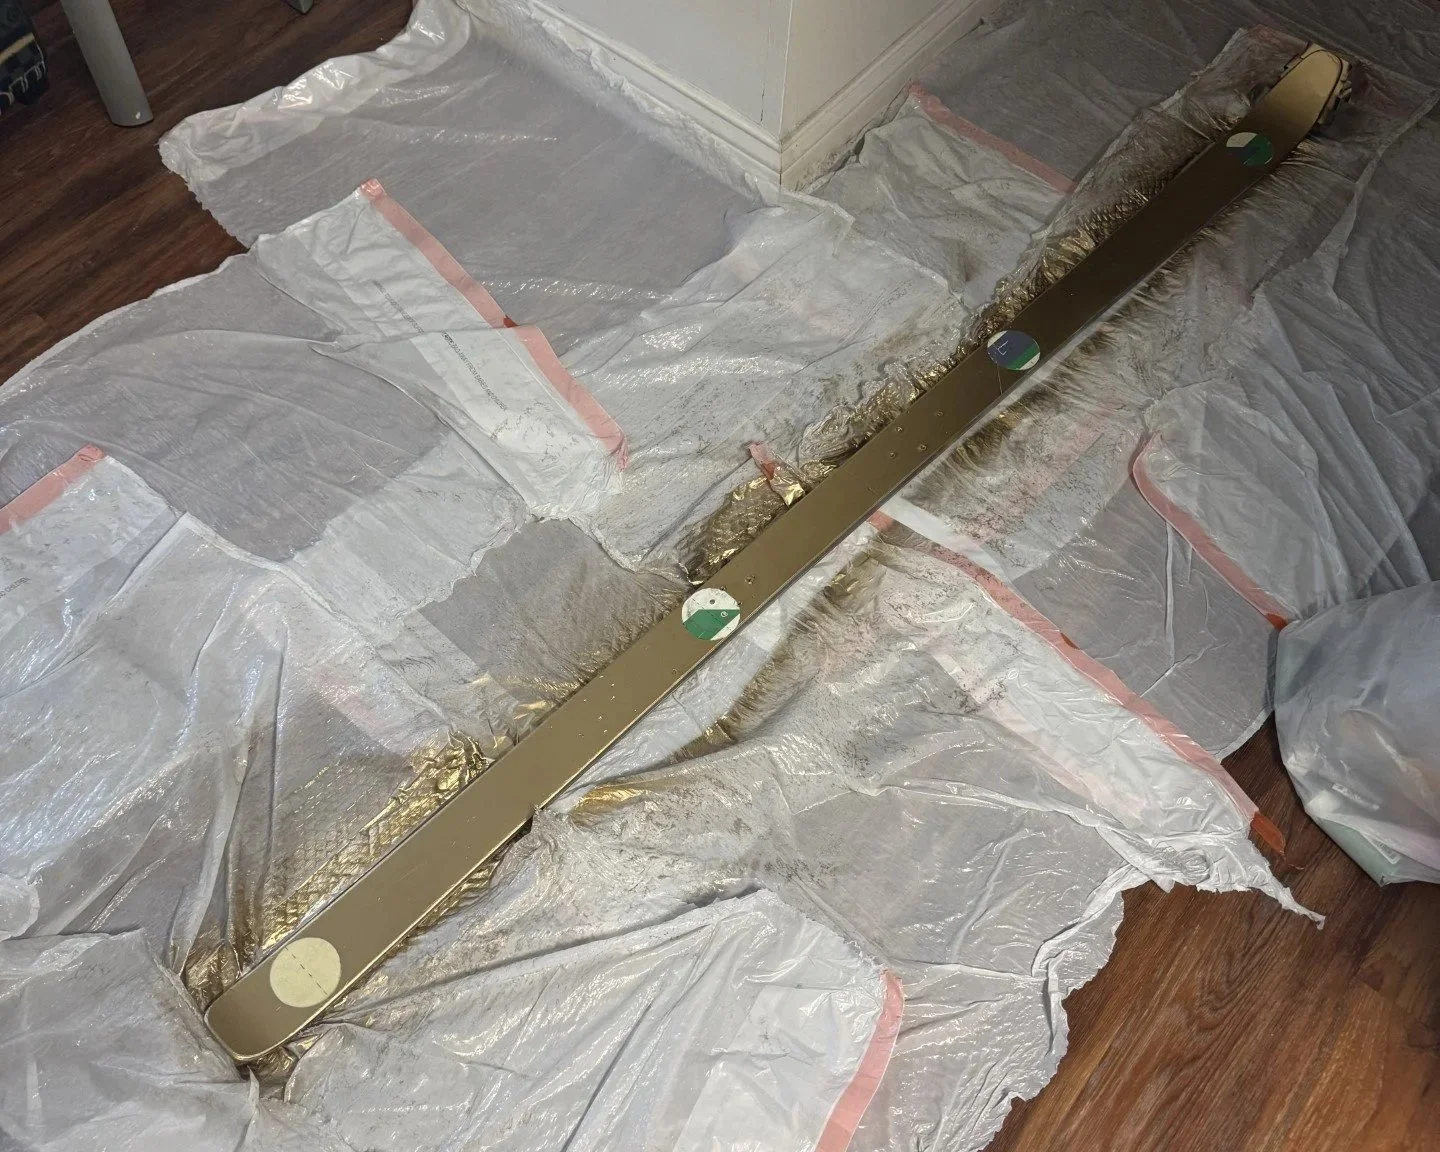
After taping off the mount locations, I removed the mounts from the ski, and I began priming the ski by applying two coats of the white primer.
Next, I painted both sides of the ski with multiple coats of gold spray paint.
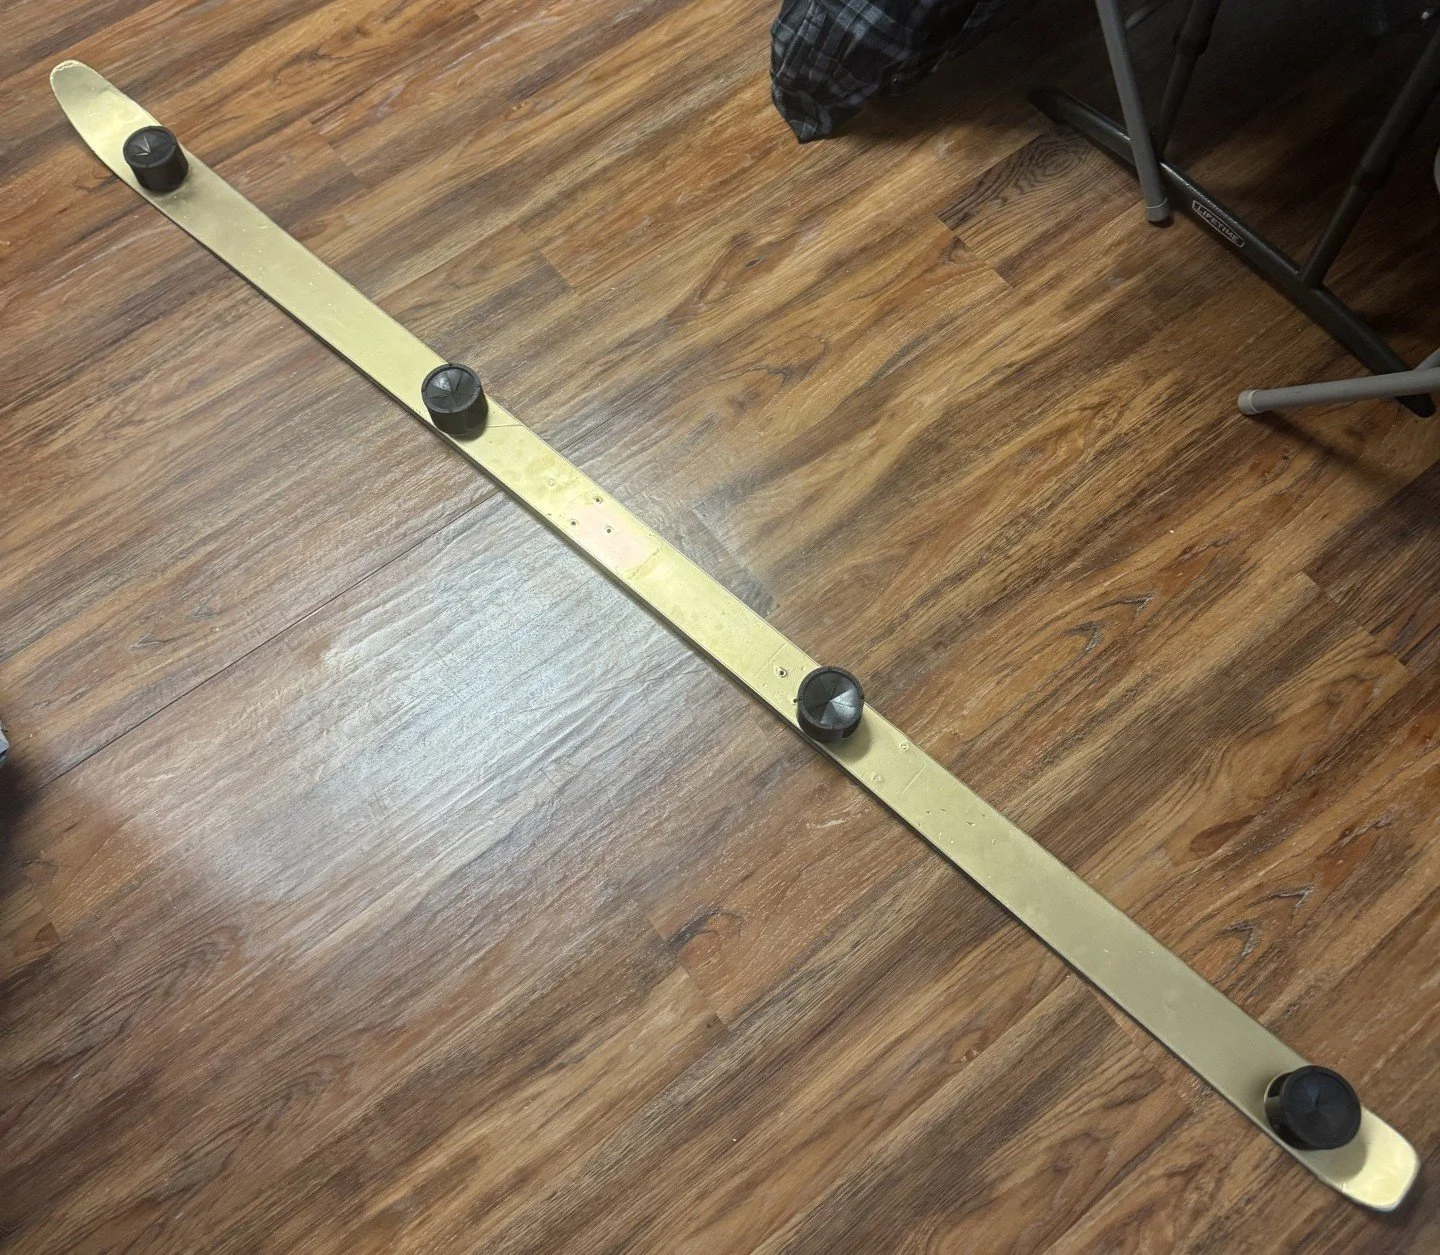
Lastly, I removed the tape covering the glass mount locations, and I used super glue to attach each mount to the ski.
This concludes the design and manufacturing of my homemade shot ski. Upon testing, everything functioned as designed.